Roles and Permissions
What are Roles and Permissions?
Team Members can be given different levels of access through Roles. You can create additional Roles and modify access permissions to suit each Role. For example, you can prevent certain Team Members from seeing the monetary Values in your Stats.
The default Roles are Admin, which has access to everything, and Sales, which has limited access.
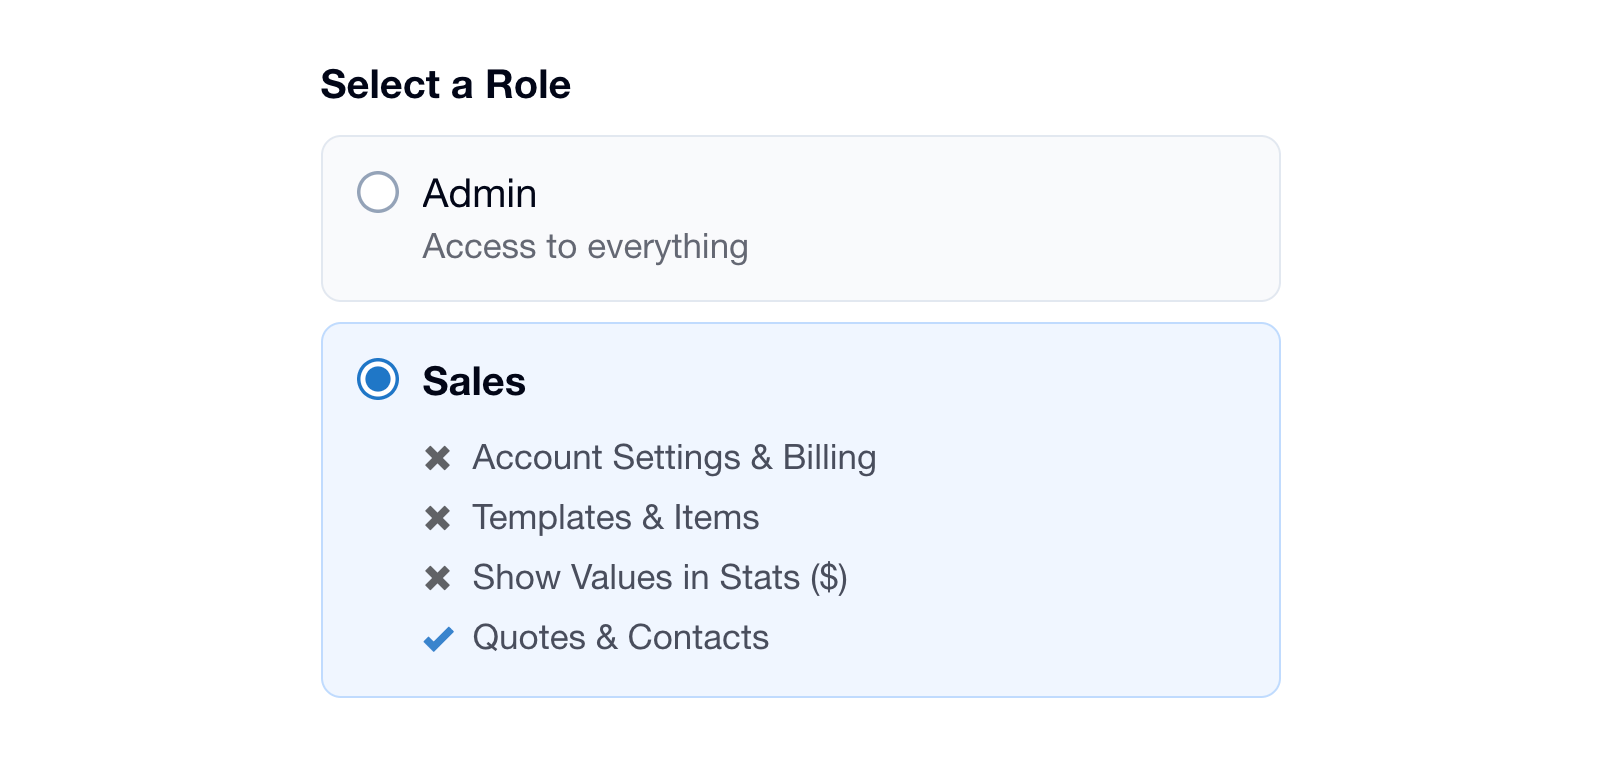
Every Role you create has two permissions you can switch on or off:
- Templates & Items
- Show Values in Stats ($)
Quotes & Contacts is always on, and Account Settings & Billing is always off. Only Admin can access Account Settings & Billing, so if someone needs that, they need to be an Admin.
Default Roles
| Access | Admin Role | Sales Role |
|---|---|---|
| Account Settings & Billing | ||
| Templates & Items | Configurable | |
| Show Values in Stats ($) | Configurable | |
| Quotes & Contacts |
Any Role you create works the same way as Sales. Every Team Member can edit their own profile, no matter which Role they’re on.
Changing what a Role can access
- Go to Account Settings → Team Members.
- Under Roles, click the Role you want to change. Admin can’t be changed, as it always has access to everything.
- Tick or untick Templates & Items and Show Values in Stats ($), then save.
Permissions belong to the Role, not the person, so any change you make applies to every Team Member on that Role. If you only want to change access for one person, create a new Role for them instead.
Creating a Role
- Go to Account Settings → Team Members.
- Under Roles, click Create Role.
- Give the Role a name, like Marketing or Templates Only.
- Tick the permissions you want the Role to have, then save.
Assigning a Role
Under People, click the Team Member you want to update and choose their Role. You’ll also choose a Role when you invite someone to join your team.